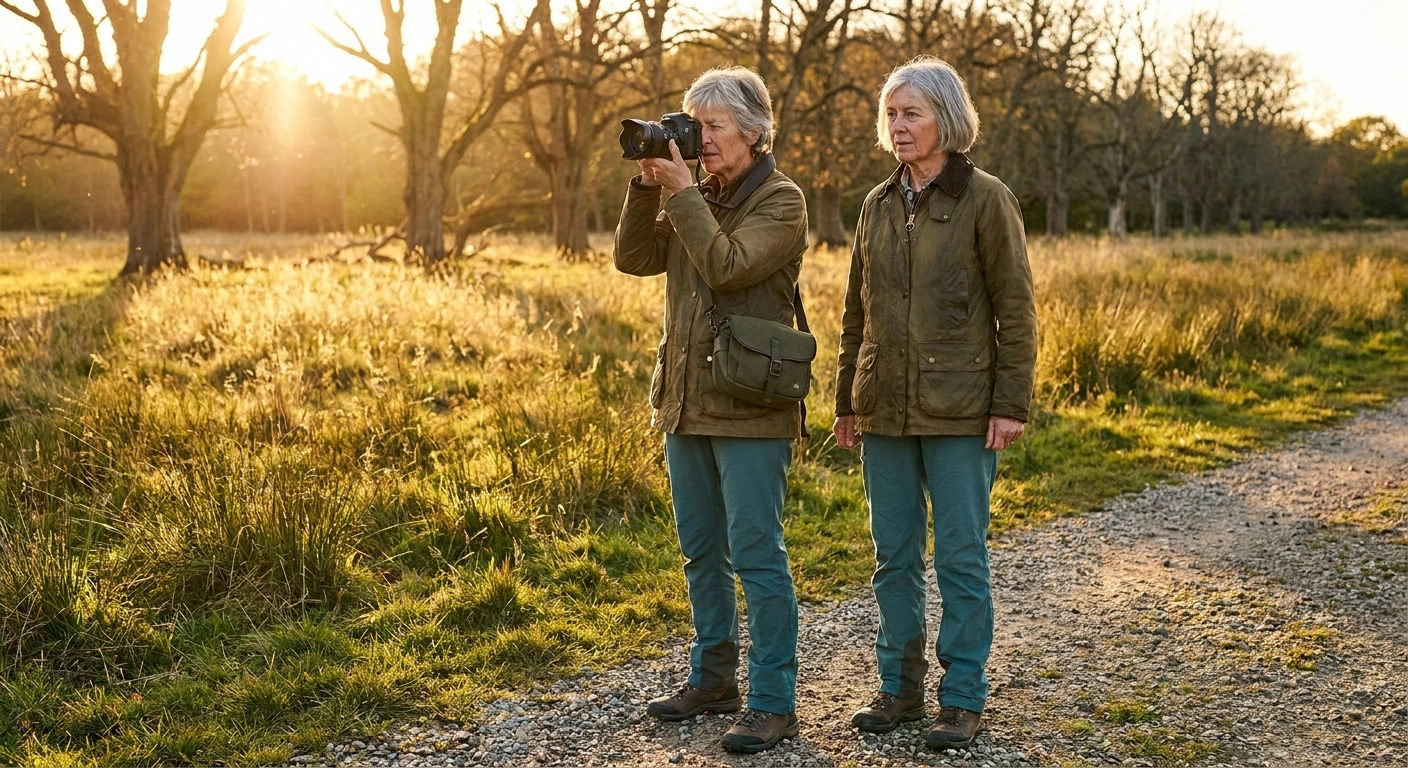
A woman in my support group brought her camera to a meeting last spring, half apologetic about it, the way people are when they think a hobby is about to be taken away. She had photographed birds and back roads for thirty years. Since the neuropathy she had stopped, and could not quite explain why. Her hands worked. She had not fallen. She just felt unsteady the moment she raised the camera, and it spooked her enough that the bag stayed in the closet.
I knew exactly what she meant, because the same thing happens with binoculars, and there is a real explanation that has nothing to do with hands.
So this is a practical article about keeping a camera in your life. Not a gear roundup, and not the usual accessible-photography advice, which is written almost entirely for wheelchair users and people with tremor. Neuropathy is a different problem. You can grip the camera; you cannot feel whether you are gripping it. You are not shaking; you are unsteady because your feet stopped filing reports. That takes different workarounds, and I have not seen them written down anywhere.
Why Photography Suits Neuropathy Better Than Most Hobbies
Let me make the case before the caveats, because I think this hobby genuinely fits.
It goes at your pace entirely. No team waiting on you, no class schedule, no partner whose afternoon you are ruining if you need to sit down. Twelve minutes or three hours both count.
It scales down without losing its soul. On a bad day the subject is the frost on your kitchen window. On a good day it is a two-mile trail. The hobby is the same at both ends, which is not true of most things.
It gives you a reason to be outdoors that is not exercise, and that distinction matters more than people admit. Walking as medicine gets abandoned; walking to reach the light before it goes does not. Our article on whether walking helps neuropathy covers the physical case, but the motivational case is that you need a destination, and photography manufactures them.
And it survives a bad stretch. If you cannot leave the house, you edit. If your hands are bad, you scout from the car and shoot tomorrow.
The Balance Rule: Plant Before You Look Through the Viewfinder
This is the important one, and it is what my friend at the support group could not name.
Stop. Plant. Then lift.
Raising a camera narrows your vision to a small bright rectangle and takes away your view of the ground — at exactly the moment your feet have stopped filing reports. That is the wobble. It is not weakness and it is not in your head.
Never walk with the camera at your eye. Never turn while looking through it. Lower it, move your feet, raise it again. You will miss a few shots. You will not miss any hip fractures.
Your balance runs on three inputs: what your eyes see, what your inner ear senses, and what your feet report about where they are and how the ground is tilted. When neuropathy degrades that third channel, your brain quietly compensates by leaning much harder on the first. You do not notice it happening. It just becomes true.
Now raise a camera to your eye. You have narrowed your vision to a small bright rectangle, removed your peripheral view of the horizon, and taken away the floor — asking your balance system to work on one and a half channels instead of three, at exactly the moment you stopped thinking about your feet. That is the wobble. It is not weakness and it is not in your head.
The fix is a sequence, and it becomes automatic within a week or two: stop, plant, then lift. Stop walking completely. Set your feet deliberately, a bit wider than you naturally stand, and take a second to feel the ground however well you can. Only then raise the camera. When you are done, lower it and look at the ground before you take a step.
Never walk with the camera at your eye, even a step or two. Never turn while looking through it — pivoting on a foot you cannot feel is how people go down. To follow something moving, lower the camera, reposition your feet, then raise it again. You will miss a few shots. You will not miss any hip fractures.
One more habit: touch something. A fence post, a tree, a railing, the roof of your car. Contact with one hand or even a hip gives your brain a fixed reference and does an astonishing amount of work. Our guide to neuropathy and fall prevention covers the broader principle, and this is one of the highest-yield places to apply it.
Choosing a Camera by Weight, Not by Specs
Camera advice online is written by and for people optimizing image quality. For us, the first specification is weight, and it is not close.
3–4 lb+
Full-frame body with a zoom lens
~1.5 lb
Smaller-sensor mirrorless with a kit lens
Almost none
A good compact, or the phone in your pocket
The test that beats every review: in a store, hold the camera at your eye for a full slow count of thirty. That is roughly what a real shooting sequence takes. Then pick up the one that felt heavy and notice how different it is after those thirty seconds. And if the honest answer is that your phone is the camera you will actually carry — that is a real answer, not a compromise.
A heavy camera pulls your center of gravity forward and up when you raise it, which is destabilizing in a body already short on position feedback. It fatigues your hands faster, and tired hands with reduced sensation are drop-prone hands. A heavy kit also means a heavy bag, which is its own problem covered below.
The chart below has rough weight tiers. What I would actually tell you to do is go hold things — not for two seconds, but at your eye for a full slow count of thirty, which is roughly what a real shooting sequence takes.
The Grip Problem, and the Two-Point Rule
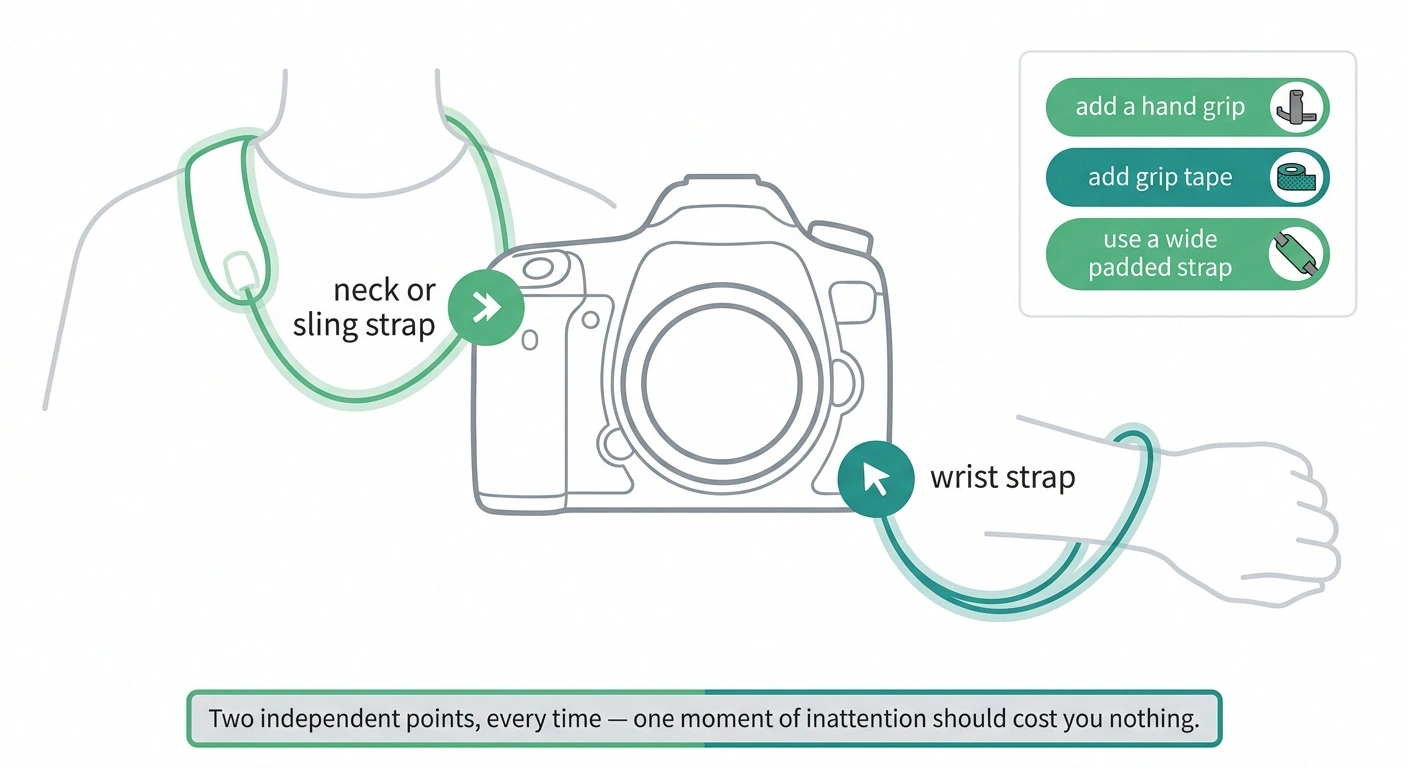
Here is the part nobody writing about photography accounts for. You can grip perfectly well. You cannot feel the grip.
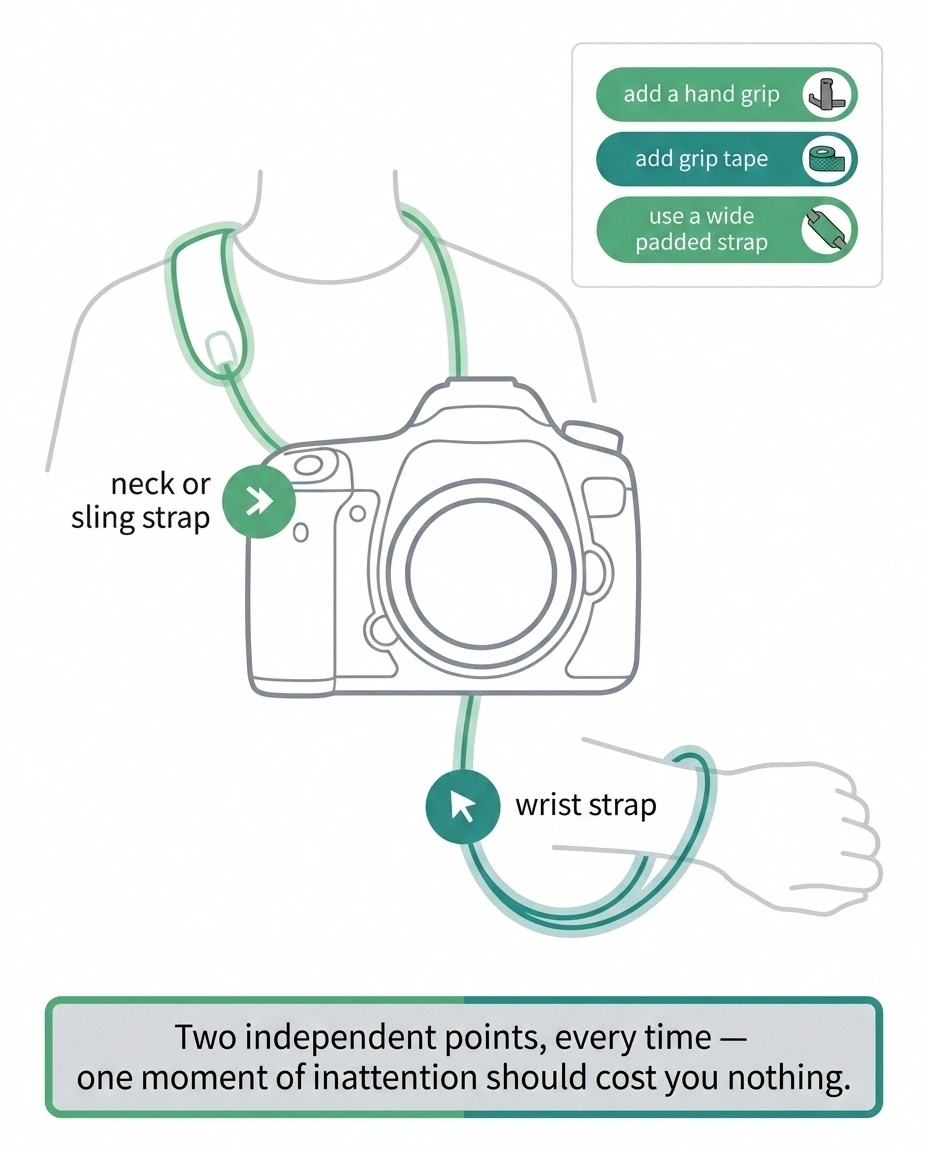
Tether at two points, always. Wrist strap and neck or sling strap, both attached, every time. Not one or the other. It is the cheapest insurance in this hobby.
Add a hand grip. It moves the camera's weight into your palm instead of pinching it between fingers. Palms tend to hold more sensation than fingertips and fatigue far more slowly.
Add texture. Grip tape, adhesive rubber, even hockey tape. More friction means less clamping force, which means less cramping. Unglamorous and effective.
Check your grip visually, on a schedule. Glance at your hand the way you glance at a mirror while driving. It sounds fussy for about three days, then it is automatic.
Grip is normally a feedback loop: fingertips report pressure, your brain adjusts without your involvement. When that reporting degrades, the loop opens. You may hold too tight, fatiguing the hand and causing cramping. Or you may loosen without noticing, which is how cameras hit pavement.
Tether at two points, always. A wrist strap and a neck or sling strap, both attached, every time. Not one or the other. Two independent points mean a moment of inattention costs you nothing. It is the cheapest insurance in this hobby.
Add a hand grip. An add-on grip that screws into the tripod socket changes the geometry so the camera's weight rests in your palm rather than being pinched between fingers. Palms tend to retain more sensation than fingertips, and they do not fatigue the same way.
Add texture. Grip tape, self-adhesive rubber, even hockey tape. More friction means less clamping force, which means less cramping. Unglamorous and effective.
Use a wide padded strap. A thin strap concentrates weight on a narrow band of your neck. A sling design riding on the opposite hip is often better still, because the camera sits ready without hanging on your neck for hours.
Check your grip on a schedule. Since you cannot feel it, glance at your hand the way you would glance at a mirror while driving. It sounds fussy. It becomes automatic.
If your hands are a significant part of your picture, our article on neuropathy in the hands covers the broader adaptations.
When You Can't Feel the Shutter Button
This one is specific enough that I have never seen it addressed anywhere, and it drives people crazy without their understanding why.
Your shutter button was designed around a small tactile detent between the half-press that focuses and the full press that fires. If you cannot feel that detent, focus becomes unpredictable and it looks like your technique fell apart. Your technique is fine. The feedback the button relies on is gone.
Back-button focus moves focusing to a separate thumb button on the back of the camera. The shutter button then does exactly one thing. There is no halfway left to feel.
Look for AF-ON in your camera menu, or search your model name plus “back button focus.” It is on nearly every interchangeable-lens camera made in the last fifteen years, and it takes about an afternoon to stop reaching for the old habit.
On most cameras the shutter button has two stages. Press halfway and it focuses and meters; press the rest of the way and it takes the picture. The two stages are separated by a small tactile detent, a slight resistance you feel with your fingertip.
If your fingertip sensation is reduced, you cannot feel that detent. So you either press straight through and fire before focus has settled, or you hover in an uncertain zone and cannot tell whether you are engaging anything. The results look like your technique fell apart. Your technique is fine; you have lost the feedback the button was designed around.
The fix is a camera setting called back-button focus, available on nearly every interchangeable-lens camera made in the last fifteen years. It moves focusing to a separate button on the back, operated by your thumb. The shutter button now does exactly one thing: take the picture. There is no detent to feel, because there is no halfway anymore.
It takes about an afternoon to stop reaching for the old habit, and photographers who switch for unrelated reasons rarely go back. Look in your camera's menu for AF-ON, or search your model name plus “back button focus.”
Two smaller things in the same family. Turn on the electronic shutter sound if your camera has one, so you get audio confirmation of what your fingers cannot report. And a remote release or phone app removes the finger entirely, which is ideal for anything on a tripod.
Dials and Buttons Beat Touchscreens
Modern cameras have moved a lot of control onto touchscreens, and for numb fingertips this is a step backward. The problem is not that they fail to register. It is that you cannot tell whether you touched, or where, or how many times. You look up, your settings have changed, and you have no idea when. Physical dials give you a click, a position you can see, and a stop you can find without looking.
So look for real dials on the top plate, buttons separated enough that you are not hitting two at once, and a menu you can navigate with a directional pad rather than only by touch. Many cameras also let you disable touch control or restrict it to focus-point selection, worth doing if you keep making accidental changes.
The same logic favors slightly larger bodies over the very smallest. There is a point where miniaturization puts controls too close together for fingers that cannot feel their own edges. The smallest camera is not automatically the most usable one.
Tripods and Monopods: Support and Hazard
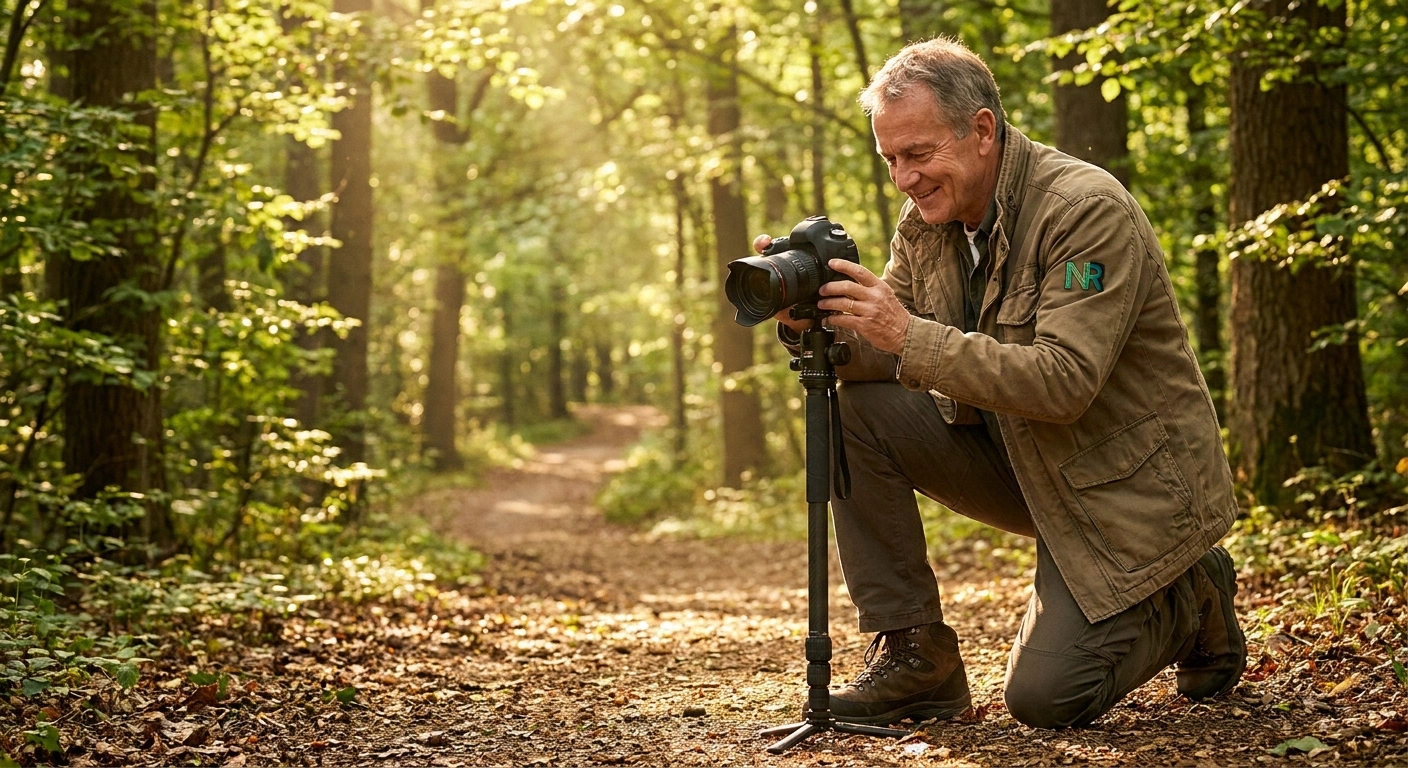
A tripod solves several of our problems at once. It removes the weight from your hands entirely, eliminates any need for steadiness, and lets you compose without holding anything at all — which means you can compose while touching something stable, or while sitting.
A tripod removes weight from your hands and eliminates any need for steadiness. It also splays legs across exactly the height you cannot feel, usually in low light, because that is when tripods come out. Both things are true and both matter.
- Set it up beside your walking path, and always know which side it is on
- Never step backward without looking
- Choose flip-lock leg clamps over twist locks, which demand fine finger torque
- Add reflective or brightly colored tape to each leg so they show up at dusk
- Do not hang your bag on it — a loaded tripod is harder to move and more likely to take you with it
Consider a monopod instead. One leg, no splay hazard, carries the weight, gives you a third point of ground contact to lean on, and doubles as a walking stick between shots. If balance rather than shake is your problem, it is usually the better tool.
It also introduces the single biggest trip hazard in photography, and the two facts need holding together. Tripod legs splay outward at ankle height, exactly where you cannot feel them, usually in low light, because that is when tripods come out. The safety rules are in the box below.
A monopod deserves serious consideration and gets overlooked. One leg, so it carries the camera's weight and gives you a third point of ground contact to lean on lightly, with no splayed-leg hazard. For anyone whose main problem is balance rather than shake it is often the better tool, and it doubles as a walking stick between shots.
Flexible-leg mini tripods are worth knowing about too. The knobbly legs are easy to grasp without fine finger control, they weigh almost nothing, and they wrap around a fence rail or branch, letting you set up at a comfortable height without kneeling.
The Standing-Still Problem
Here is something that surprises people: for a lot of us, standing still is harder on the feet than walking is.
Walking keeps blood moving and constantly redistributes pressure across the foot. Standing in one spot loads the same tissue continuously. Anyone who has survived a walk through a museum only to feel wrecked after twenty minutes in the gift shop line knows this arithmetic, and it is the same principle behind our movie theater seating guide.
Photography, unfortunately, is a standing-still hobby. Waiting for the light. Waiting for the bird. You can easily spend forty minutes in one spot without registering it.
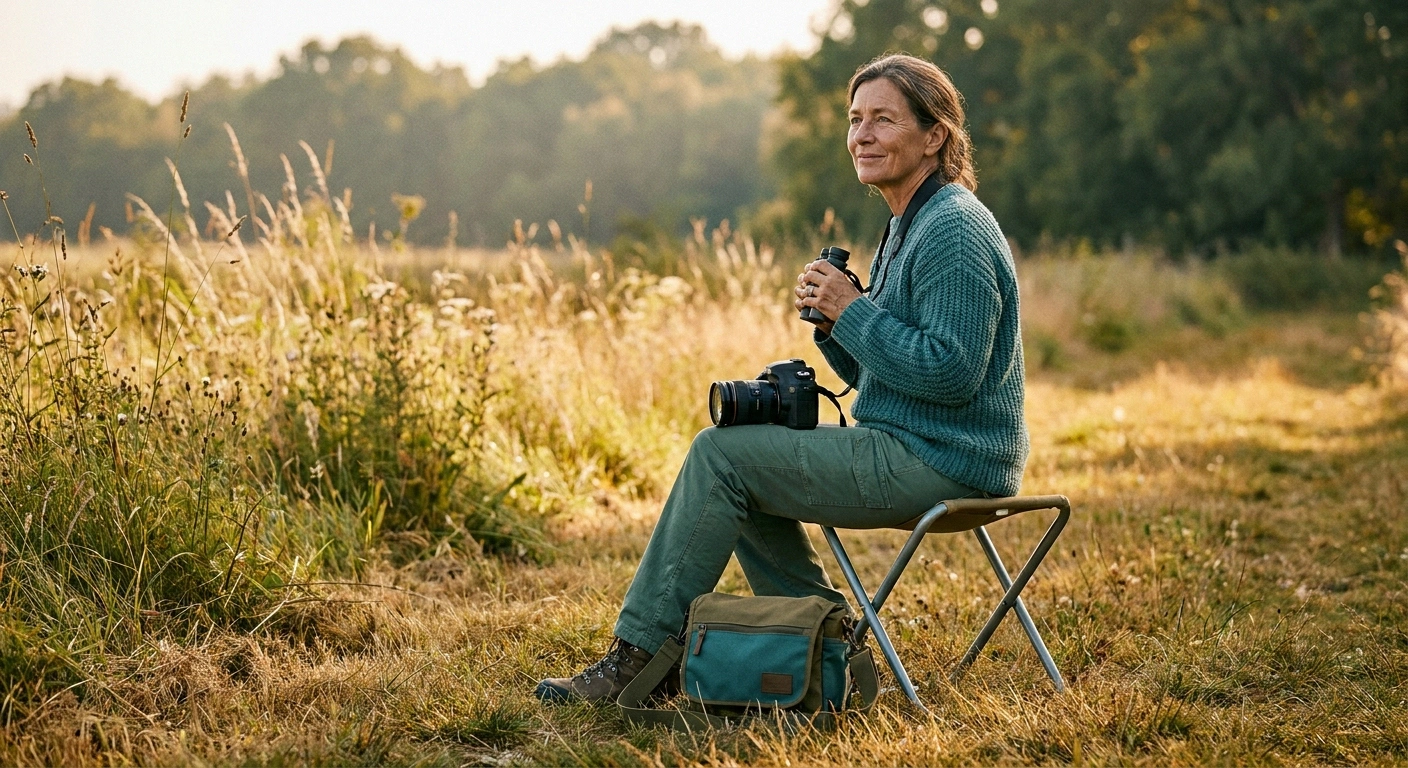
Bring something to sit on. A folding stool that clips to your bag is the single best accessory in this article. It weighs almost nothing and changes what is possible.
Shift deliberately. If you must stand, move your weight foot to foot on a rhythm rather than waiting for discomfort you may not feel until it is significant.
Set a timer. Twenty minutes, then sit for two, whether or not you think you need to. A clock is a better guide than sensation you may not receive.
Lean instead of stand. A wall, a railing, a car. Leaning takes load off your feet and improves stability at once.
Camera Bags and Your Center of Gravity
Most bag advice is about comfort. For us it is about where the weight sits.
A heavy bag on one shoulder pulls you sideways continuously, and your body corrects using balance machinery already running short. A backpack centers the load but pulls you backward, affecting how you recover if you stumble. A sling sits diagonally and rotates to the front, keeping weight closer to your midline.
My honest recommendation is a small sling or light backpack, and more importantly, carrying far less than you think you need: one body, one lens covering most of what you shoot, a spare battery, a cloth, and the stool. Every extra lens is weight you carry for miles to use for four minutes.
And do not hang the bag on the tripod to steady it, which is standard advice in photography generally — a loaded tripod is harder to move safely and far more likely to take you down with it if it tips.
Cold Weather Shooting and the Temperature Trap
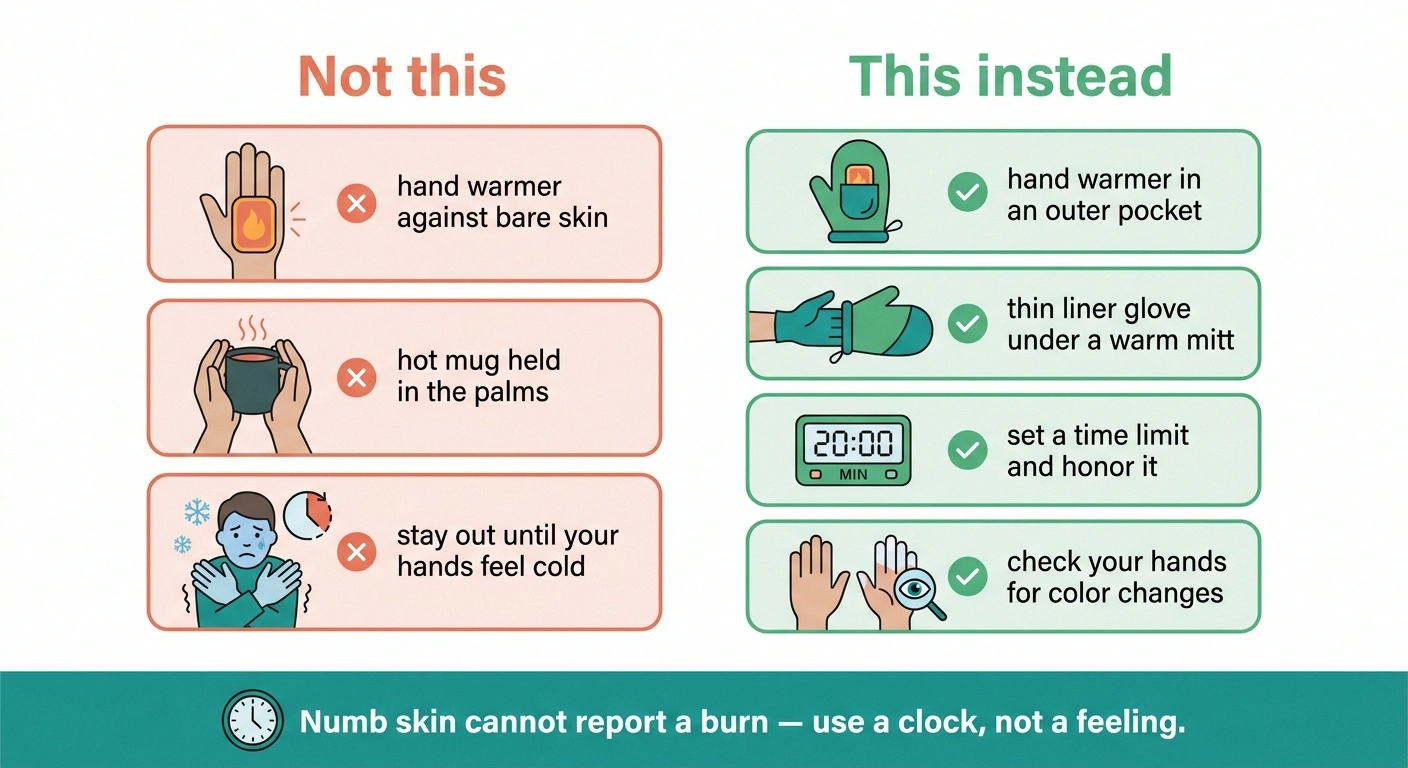
Winter light is beautiful and photographers chase it. Cold is also a specific hazard for neuropathic hands, and the danger runs in both directions.
Chemical hand warmers, heated gloves, and hot mugs pressed into your palms can burn skin that cannot report heat. This is not theoretical. It is one of the more common ways people with sensory loss get hurt, and it happens precisely because the warning signal is the one that is missing.
- Keep the warmer in an outer pocket and warm your hands near it, never against it
- Thin liner glove you can keep on, under a warmer mitt you remove to shoot
- Set a time limit for the session and honor it regardless of how your hands feel
- Check your hands for color changes — looking is the sense you still have
Bring a thermos so the warmth comes from the inside rather than from a hot mug against your skin.
The first is obvious: numb hands do not report cold accurately, so you can be well past uncomfortable without noticing. Cold also stiffens hands and reduces what sensation you had, compounding the grip problem.
The second direction is the one that causes injuries. Chemical hand warmers, heated gloves, and hot drinks pressed against your palms can burn skin that cannot report heat. This is not theoretical; it is one of the more common ways people with sensory loss get hurt, and it happens because the safety signal is exactly the one that is missing.
So the rules for cold weather are clock-based, not feeling-based, and they are set out below. The same principle applies to your feet, and our foot care guide covers cold-weather protection in more detail. Compression socks are worth considering for long outdoor sessions if circulation is part of your picture.
Golden Hour, Low Light, and Working Around Shake
The best light happens at the edges of the day, which is also when it is dimmest, meaning slower shutter speeds, meaning camera shake shows up. And “hold very still” is not free advice for us. Fortunately this is solved technically, so lean on the equipment rather than your body.
Buy stabilization. In-body image stabilization is genuinely transformative, buying back several stops of hand-holding ability. If you are choosing between two cameras and one has it, that is the tiebreaker.
Raise your ISO without guilt. Modern cameras handle high ISO far better than the internet's received wisdom suggests, and a slightly grainy sharp photo beats a clean blurry one every single time.
Shoot bursts. Five frames instead of one. Statistically one will land between your movements. Costs nothing, works remarkably well.
Use the self-timer on a support. Two seconds on a tripod or a fence post removes the shake from your own press entirely.
Brace, always. Elbows tucked against your ribs turns your torso into a tripod. Leaning a shoulder on a wall is nearly as steady as the real thing. Kneeling is stable, but think about how you will get up before you go down, and use a post or a car for the return trip.
Car Photography and Drive-Up Locations
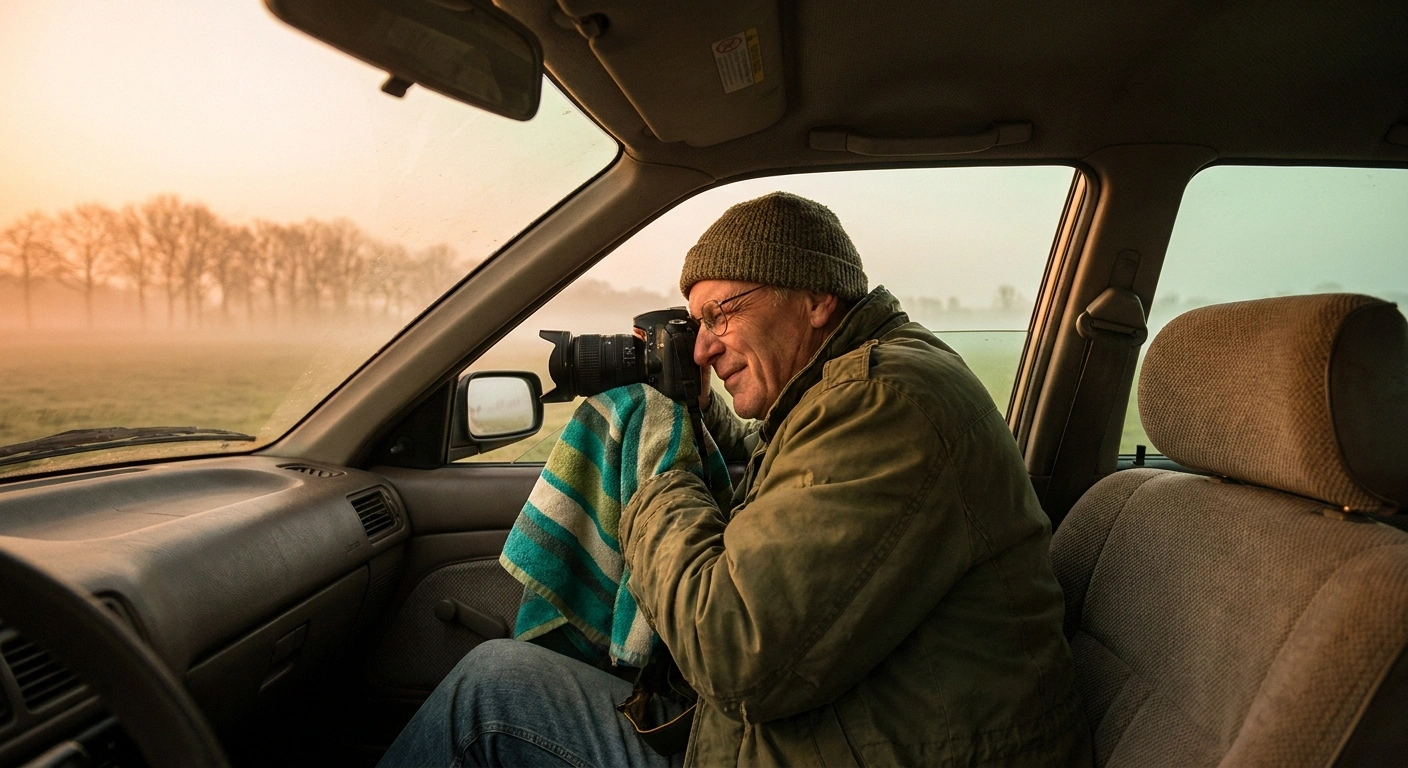
There is a version of this hobby involving almost no walking, and I want to give people permission to use it, because a surprising number of good photographs happen within twenty feet of a parked car.
Shooting from the vehicle is a legitimate technique, not a consolation prize. Wildlife photographers do it deliberately, because animals treat a car as part of the landscape and tolerate it at distances they would never allow a person on foot. A beanbag or rolled towel on a lowered window makes a steadier rest than most handheld positions, and turning the engine off keeps vibration out of the shot.
Building a personal list of drive-up locations is worth an afternoon. Overlooks with parking at the viewpoint. Roads running alongside water. Lots that face west for sunsets. A cemetery with paved lanes, which sounds odd and is genuinely one of the best low-effort photography environments there is: mature trees, interesting stonework, quiet, and pavement everywhere.
Scouting and shooting later is also a real strategy. Drive a route, note what looks promising and at what hour, then return on a good day and spend your walking budget on the one spot you already know is worth it.
Foot Care on a Long Shoot
A photography outing is a walking outing with distraction attached, and the distraction is exactly the problem. You are absorbed, on uneven ground, in tall grass, on gravel. You may cover two or three miles without registering it, because you were counting frames instead of distance. And a blister, a stone in your shoe, or a small cut will not announce itself.
A photography outing is a walking outing with distraction attached — and the distraction is the problem. You are absorbed, you are on uneven ground, and you may cover three miles without registering it because you were counting frames instead of steps.
Every 20 minutes — sit for two, whether or not you think you need to
Every hour — take a shoe off and actually look
Every time you get home — tops and soles, both feet, mirror or phone camera
Sweep the inside of your shoes with your hand before you put them on, and keep a few bandages, blister pads, and a spare pair of socks in the bag. Dry socks halfway through a damp morning are both a luxury and good prevention.
The protections are the ones we always recommend, applied with more discipline because the distraction is stronger. Wear proper shoes, not casual ones — closed, supportive, well-fitted, broken in, never sandals and never a new pair on a shoot. Our guide to choosing shoes for neuropathy covers what to look for. The timed check-in routine is in the box below.
Editing Without Wrecking Your Hands
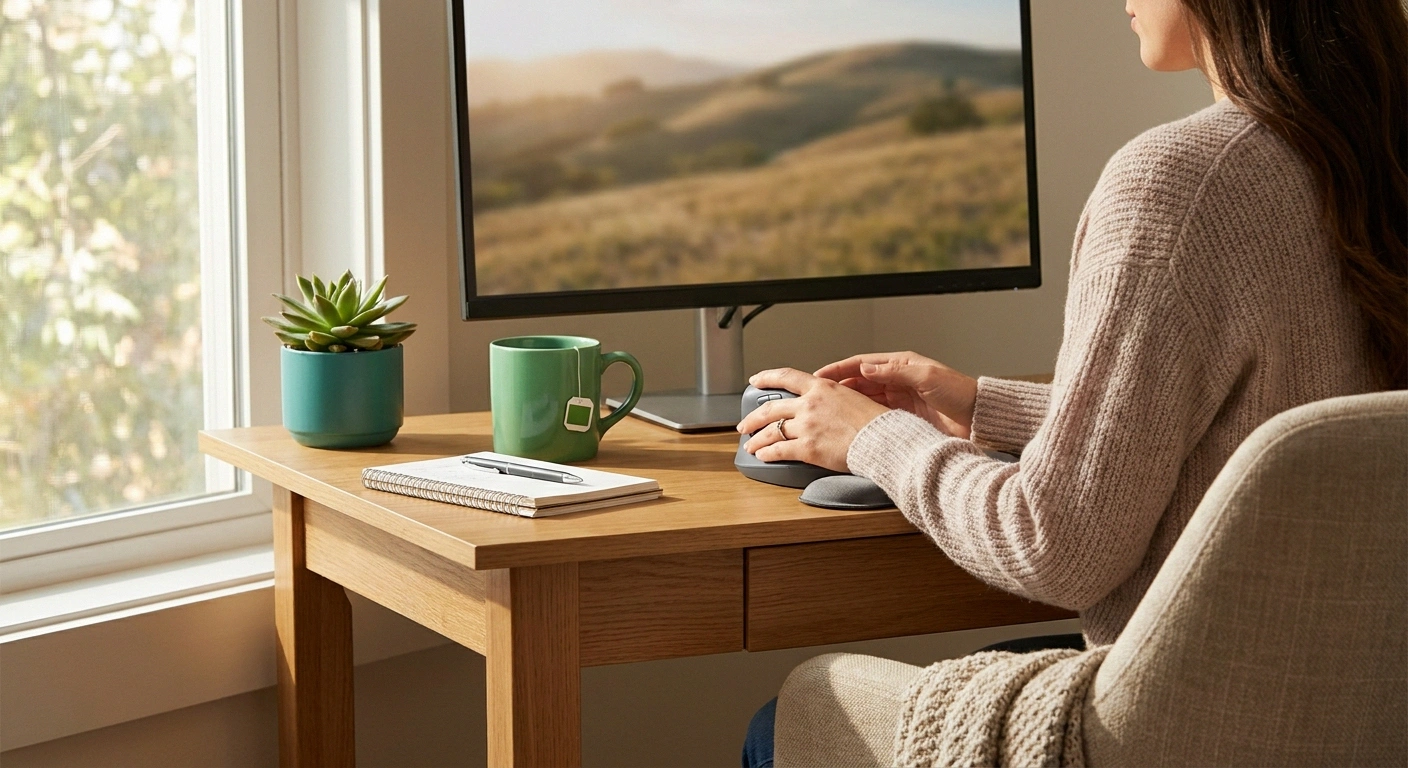
The desk half of this hobby gets ignored because sitting at a computer does not feel like exertion. But editing means hours of small repetitive movements with your hand in one position, and for hands with reduced sensation and a tendency to overgrip, that is a recipe for a bad evening.
Change the input device. A larger mouse fills the palm and reduces pinching. A vertical mouse holds the wrist neutral. A trackball moves the work to the thumb. A drawing tablet is worth trying, since holding a pen loosely is a different grip pattern than clutching a mouse.
Learn a handful of keyboard shortcuts. Every keystroke is a mouse movement you did not make.
Support your forearm. It should rest on the desk or an armrest, not hang from your shoulder. Unsupported arms make hands work harder without anyone noticing.
Set a timer here too. Twenty-five minutes, then stand and stretch your hands.
Cull separately from editing. Deleting the obvious rejects is easy work for a bad-hands day. Save detailed adjustments for a day when your hands cooperate. Splitting the workflow keeps the hobby moving even in a rough week.
Finding People to Shoot With
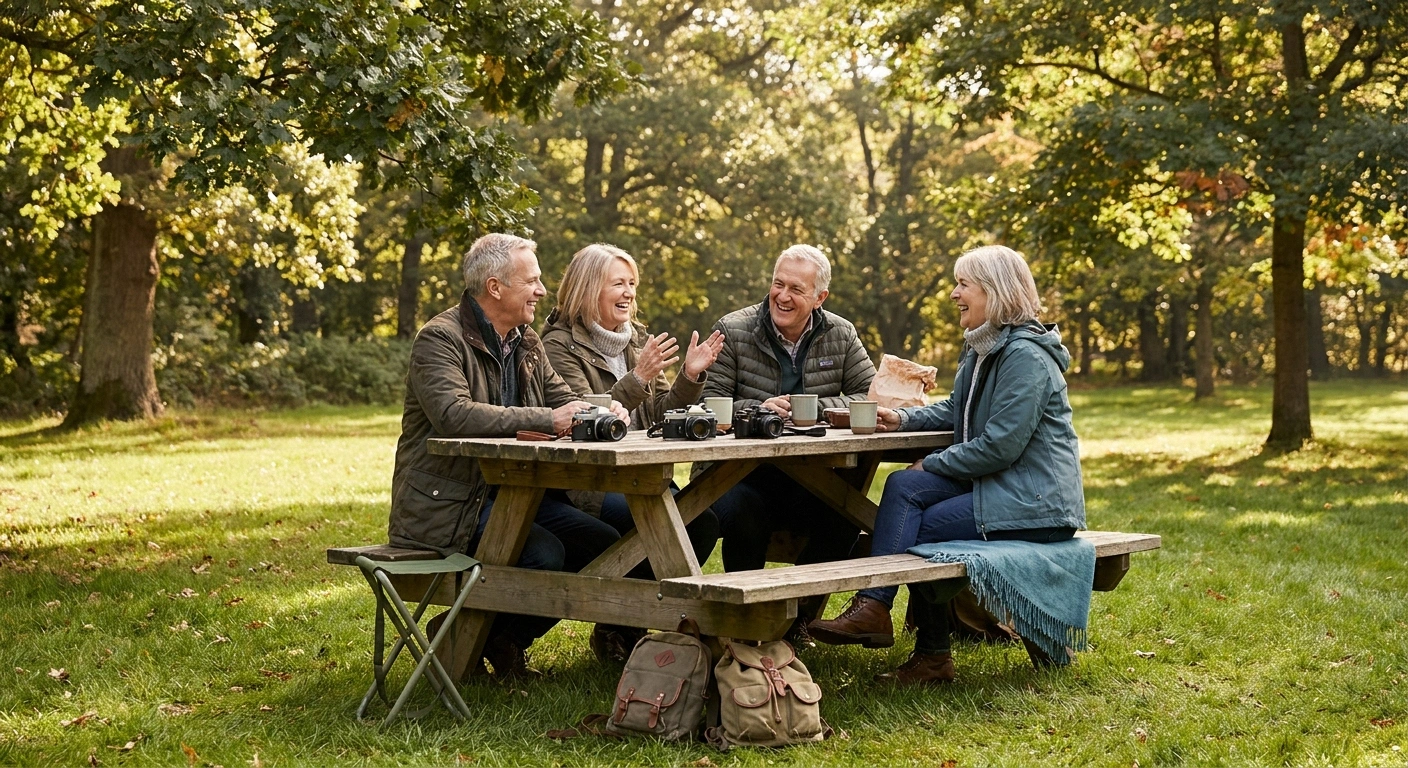
I want to close here, because community is what keeps a hobby alive when the practical friction gets tiring.
A logistical detail
“I'll need to sit every half hour or so, and I go slow on uneven ground.”
A whole conversation you didn't want
The same sentence, said apologetically, two miles in.
Camera club walks are unusually well suited to us — eight people wander off, shoot alone, and reconvene for coffee. You get the company and the safety without having to keep anyone's pace. And one regular photography friend who knows to plan around benches is worth more than any group.
Photography has an unusually generous culture around solo-but-together outings. A camera club walk means eight people who each wander off, shoot alone, and reconvene for coffee — perfect for us: company and safety without having to keep anyone's pace.
Local camera clubs almost always welcome newcomers and skew toward retirement age, so the pace tends to be reasonable already. Photo walks through community centers or libraries are usually short and flat. Online groups built around a place or a subject give you the community without the walking.
My friend from the support group is shooting again, incidentally. Monopod, back-button focus, a stool that clips to her bag, and a firm rule about planting her feet before the camera comes up. She told me the pictures are better now, because she stopped rushing.
Frequently Asked Questions
Can you do photography with numb hands?
Yes, with some adaptations. The main issues are grip feedback and fine control rather than strength. Practical adjustments include using two attachment points for the camera at all times, meaning both a wrist strap and a neck or sling strap, adding a hand grip so the camera's weight rests in the palm rather than being pinched between fingers, applying grip tape for friction so less clamping force is needed, and switching to back-button focus so the shutter button no longer requires feeling a half-press detent. Checking grip visually on a regular schedule replaces the sensory feedback that is missing.
What is back-button focus and why does it help with neuropathy?
Back-button focus is a camera setting that moves autofocus from the shutter button to a separate button on the back of the camera, operated by the thumb. It is available on nearly every interchangeable-lens camera made in the last fifteen years, often labeled AF-ON in the menu. It helps with reduced fingertip sensation because the standard shutter button relies on feeling a small tactile detent between the half-press that focuses and the full press that fires. When that detent cannot be felt, focusing becomes unpredictable. Separating the two functions onto two buttons removes the need for that feedback entirely.
How do I stay steady while holding a camera with neuropathy?
The instability usually comes from balance rather than hand shake. Raising a camera to the eye removes peripheral vision and the view of the ground, which matters because a body with reduced position sense compensates by relying more heavily on vision. The core habit is to stop walking, plant the feet slightly wider than normal, and only then raise the camera, reversing the sequence when finished. Never walk or turn while looking through the viewfinder. Maintaining light contact with a fixed object such as a railing, tree, or car provides a stable reference and helps considerably.
Is a monopod better than a tripod for someone with balance problems?
Often yes. A monopod carries the camera's weight, provides a third point of ground contact that can be leaned on lightly, and doubles as a walking stick between shots. Critically, it has no splayed legs at ankle height, which is the main trip hazard a tripod introduces, particularly in the low light when tripods are most used. A tripod remains the better choice for long exposures and static setups, in which case setting it beside the walking path rather than in it, using flip-lock leg clamps rather than twist locks, and marking the legs with reflective or brightly colored tape all reduce the risk.
What camera weight is manageable with neuropathy?
Lighter is generally better, because weight raised to eye level shifts the center of gravity forward and up, fatigues the hands faster, and increases drop risk when grip feedback is reduced. As rough guidance, a full-frame body with a zoom lens often weighs three to four pounds or more, while a smaller-sensor mirrorless body with a kit lens frequently lands around a pound and a half. The most useful test is to hold a camera at eye level for a slow count of thirty in a store, which approximates a real shooting sequence, and compare candidates that way rather than by specifications.
Are hand warmers safe to use with neuropathy?
Not against bare skin. Chemical hand warmers, heated gloves, and hot mugs held in the palms can burn skin that cannot report heat, and this is a recognized way people with sensory loss get injured, precisely because the warning signal is the one that is missing. Safer practice is to keep a hand warmer in an outer pocket and warm the hands near it rather than against it, or maintain a fabric layer between the warmer and skin at all times. Cold-weather sessions should be limited by a clock rather than by how the hands feel, and hands should be checked visually for color changes.
How long should I stand still while waiting for a shot?
Standing still is often harder on neuropathic feet than walking, because walking keeps blood moving and redistributes pressure while standing loads the same tissue continuously. A practical approach is to set a timer for roughly twenty minutes and sit for a couple of minutes regardless of whether discomfort has registered, since the usual signal to move may not arrive. Carrying a lightweight folding stool that clips to the camera bag makes this simple. Leaning against a wall, railing, or vehicle rather than standing unsupported both reduces foot loading and improves stability.
About the Author